Fix blurry photo: choose a useful starting point
A photo can look soft for several different reasons. The camera may have focused just behind the subject, a small hand movement may have softened an edge, or a messaging app may have reduced the file. A local repair is most worth trying when you can still recognise the original outlines and the softness is modest. A featureless patch cannot tell the tool what used to be there.
Look at an edge that matters to the picture: a cup rim, a leaf, a piece of craftwork or a building outline. If it is only slightly spread out, start with Balanced. If you see a long streak or a duplicate outline, use our blur assessment guide before expecting the same repair to work.
Find the original file on your phone
Use the original photo from your gallery when possible. A screenshot of a photo, a social-media preview and a repeatedly shared copy can each have fewer pixels than the source. Repairing that copy does not bring back the discarded pixels. If someone sent you the picture, ask for the original attachment rather than another screenshot.
PicUnblur accepts JPG and PNG files up to 20 MB. If your phone stores HEIC, export a JPEG copy first. Changing a file’s extension does not convert it. Keep the source in your gallery; the tool works on a separate copy in this tab and does not overwrite your original.
Start with Balanced, then make one comparison
Choose a file in the tool above and press Restore photo. Balanced uses a small blur estimate and is a practical first try. Once the result appears, drag the comparison divider across the same part of the image. Both sides use the same working dimensions, so an apparent improvement is not simply the result of showing one side larger.
Give Gentle a try if thin edges become bright or grain becomes distracting. Strong makes a more aggressive estimate; it is useful to compare, but a stronger setting is not a promise of a better picture. Change the setting and run again rather than feeding the previous output back into the tool.
Judge the detail you actually need
Check more than the overall impression. Smooth walls should stay smooth, colours should remain believable, and a small object should keep its shape. A bright border around a dark edge is a halo, not recovered detail. A sharper-looking word is not proof that its letters are correct.
You can open View actual size to inspect the exported result without the comparison panel shrinking it. For a casual photo, choose the version you prefer. For a product image, also check marks, seams and outlines against the source. Do not use a reconstruction to establish identity or verify information in an important document.
Understand the free output size
The free tool processes up to two million pixels and a longest side of 2,000 pixels. An input inside both limits keeps its dimensions. A larger photo is resized before repair, and the displayed notice gives the original and working dimensions. The original gallery file is unaffected.
Download free PNG exports the result at those displayed dimensions, without a watermark. It does not create a larger original-resolution file or upscale the photo. The export also drops source metadata, including EXIF. If you need a bigger file for print, decide that separately rather than mistaking a larger pixel count for better blur recovery.
What the illustrated example proves
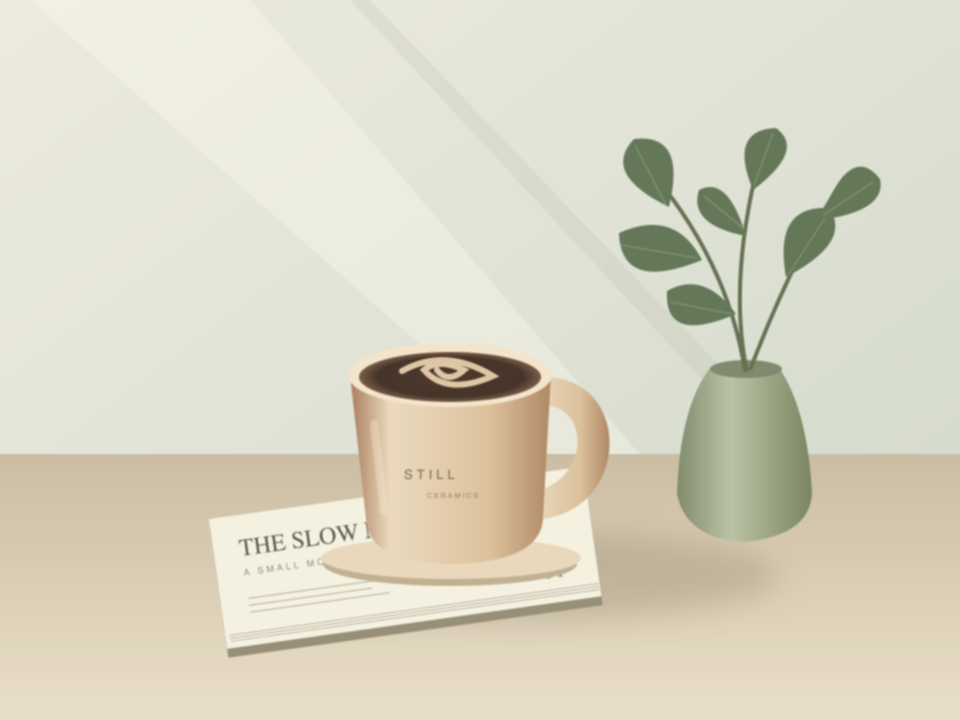
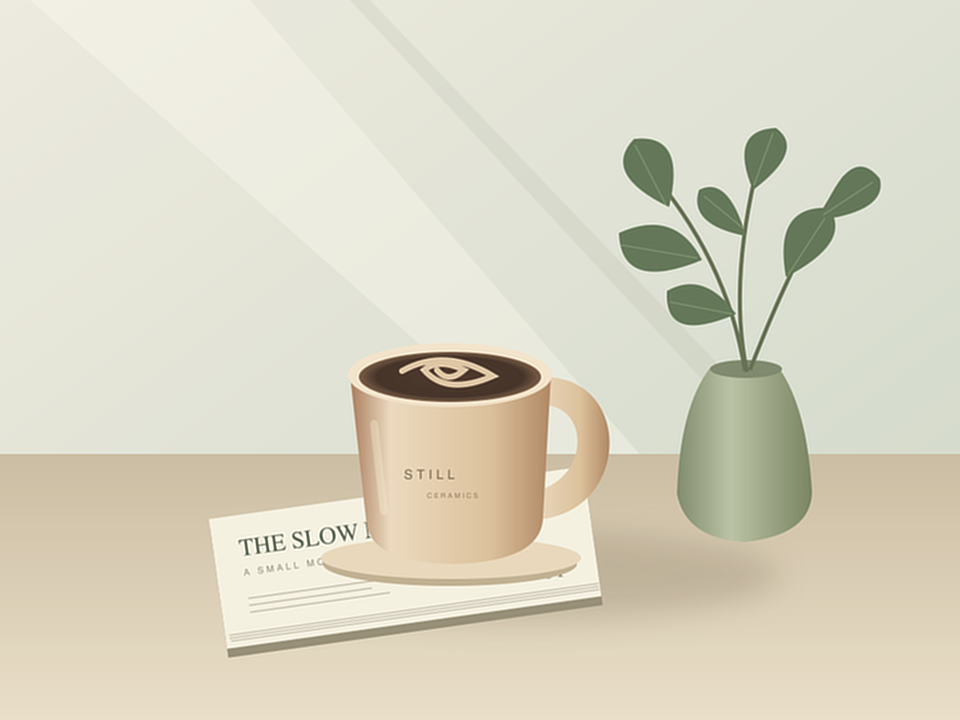
The example on this page is a scene we drew, not a customer testimonial or a real camera failure. We applied light Gaussian blur, then ran the same Balanced repair available in the tool. Having the clean reference makes it possible to inspect whether edges moved closer to the source.
That controlled result demonstrates the workflow and one kind of softness. It does not establish a success rate on phone photos, portraits or movement. Real photos combine different blur patterns, noise and compression. Try your own authorised photo and keep the original if the repair is less convincing.