The result in this test
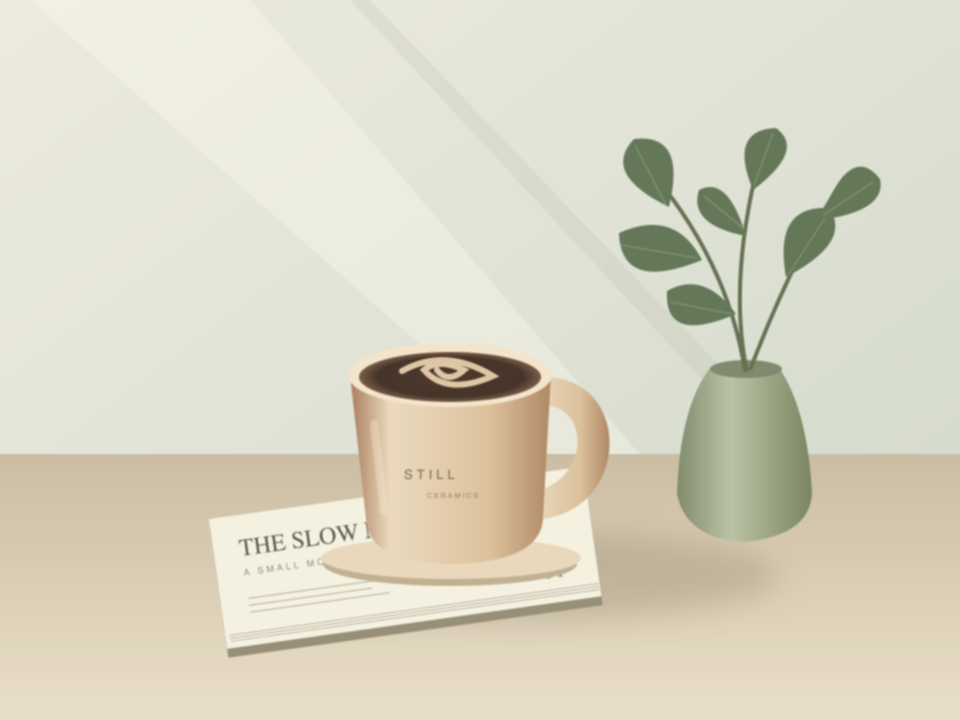
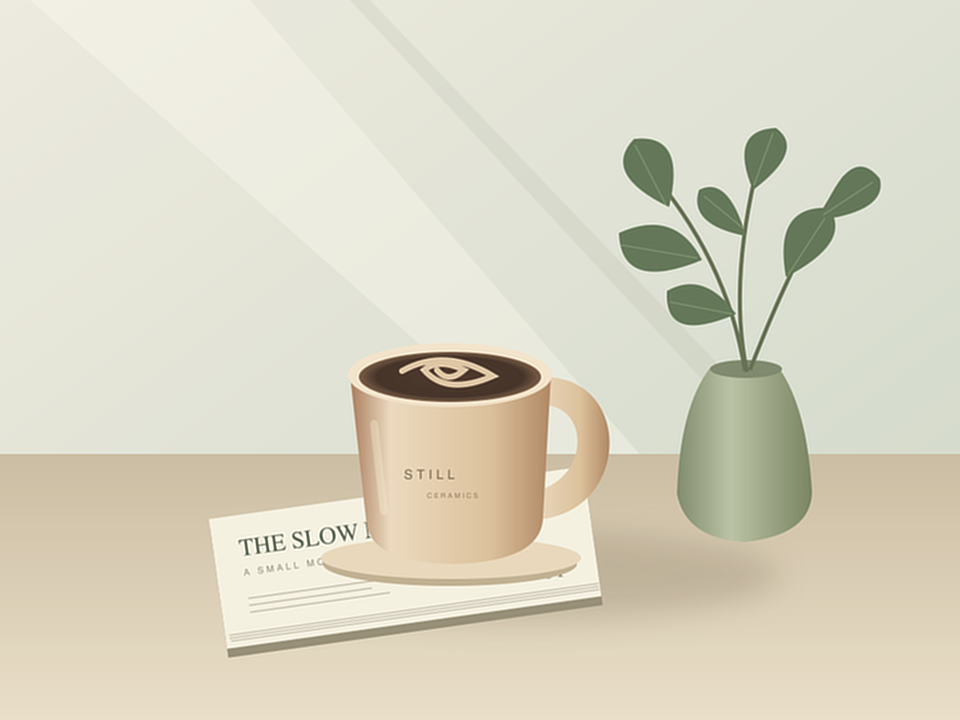
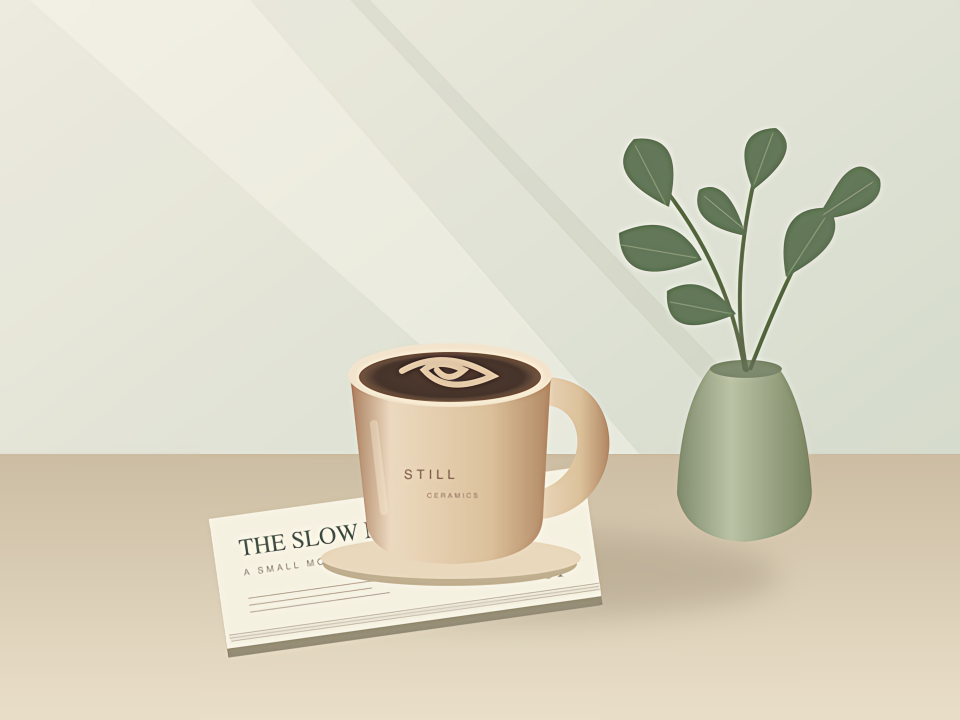
Both PicUnblur Balanced and unblurimage.pro Free HD reduced pixel error against our clean reference. The .pro result had the lowest error on this input. The .io Local AI result was exported at four times the dimensions; resized back to the reference size, it had higher pixel error than the blurred input. These are observations about one simulated sample, not a universal ranking of the products.
What we tested, and why there is a reference
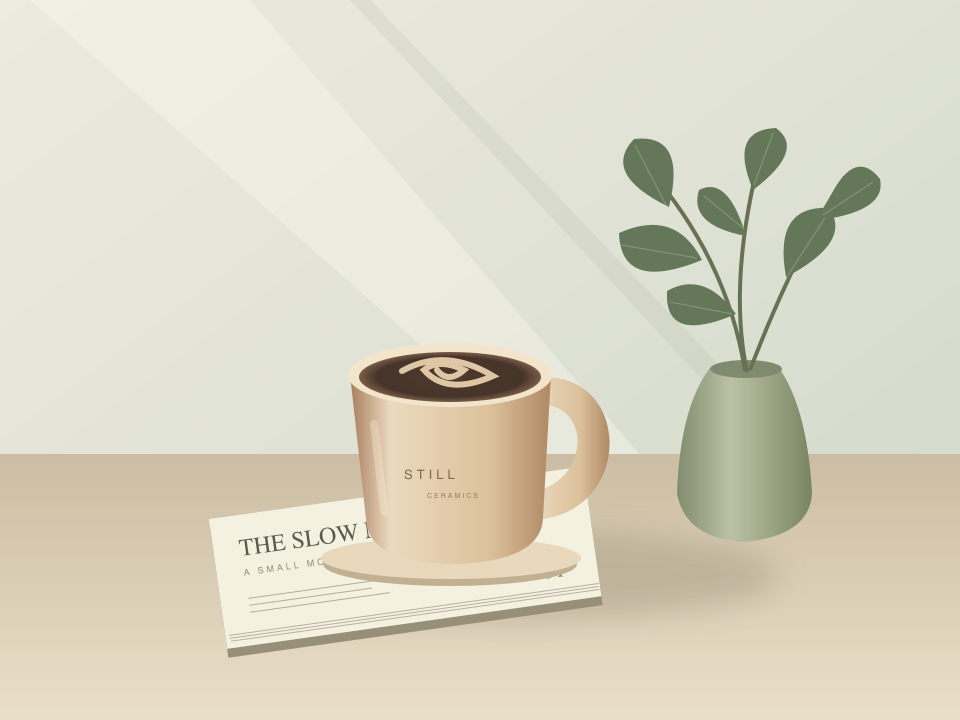
We drew a still-life scene with a cup, plant, lettering and smooth colour areas, rendered it at 960 × 720 pixels, and applied Gaussian blur with sigma 1. We own the scene and retain its clean version. That gives us something concrete to compare, rather than deciding that a more dramatic texture must be correct.
This is an illustration with simulated softness. It is not a real shaky phone photo, portrait or damaged document, and the results do not establish a success rate for those uses. Smooth areas also occupy much of the scene, so an overall error number can hide a local problem. We include the images to make visual inspection possible.
How we compared free unblur tools
| Tool | Mode selected | Sign-in for this run | Downloaded size |
|---|---|---|---|
| PicUnblur | Balanced, local Richardson–Lucy | Not needed | 960 × 720 |
| unblurimage.pro | Free HD · Unblur only | Not needed | 960 × 720 |
| unblur-image.io | Unblur Image Local · 4× | Not needed | 3840 × 2880 |
All three produced a downloadable PNG in this test, with no visible watermark. We did not buy a plan, consume a paid model, or test the cloud modes. The .io website identifies the selected Local mode as on-device and also offers a separate cloud mode. The .pro privacy wording is general; this run did not establish its processing location or retention policy. Check each provider’s current policy before selecting a sensitive image.
Inspect the outputs at the same scale
PicUnblur · Balanced
 AfterBefore
Actual output of the free tool. No automatic enlargement.
unblurimage.pro · Free HD
 AfterBefore
Actual downloaded Unblur only output.
unblur-image.io · Local AI
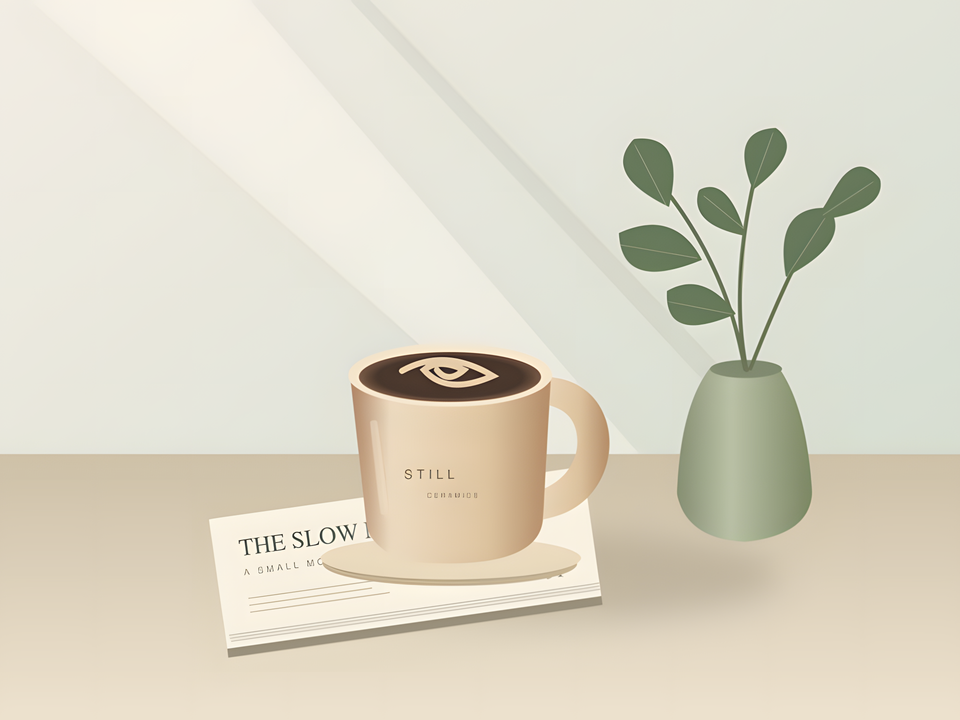 AfterBefore
Its 4× export resized back for this comparison. This is not a test of its cloud models.
Blurred input versus the reference
AfterBeforeThe target is the source scene, not whatever appears sharpest.
Move the divider over the cup rim, lettering and leaf edges. Then look at the wall and other smooth regions. Do outlines move closer to the reference, or do new rings and texture appear? A convincing comparison checks both detail and artifacts instead of showing a small blurry input beside a much larger output.
A limited numeric check
We calculated RGB root-mean-square pixel error against the reference on the 0–255 channel scale. Alpha was excluded. Lower means closer in these pixels; it is not a satisfaction percentage or a measure of whether an important word is correct. The .io export was resized to 960 × 720 with the same image library before this calculation.
| Image | RGB pixel error |
|---|---|
| Blurred input | 3.2899 |
| PicUnblur Balanced | 2.6508 |
| unblurimage.pro Free HD, Unblur only | 2.2577 |
| unblur-image.io Local AI 4x, resized back | 3.9415 |
On this sample, .pro is closer to the reference than our Balanced output, so we do not claim to have beaten it. The larger Local AI file did not become a more accurate reference match after resizing. It may still appeal visually, and a different photograph could produce a different result. Flat backgrounds can dilute the importance of small lettering or subtle texture, which is why the images and test conditions matter more than a single score.
Choosing between free unblur tools
Free, no sign-in and local processing are useful features, but they are not unique to PicUnblur. The .io service already offers a local mode, and .pro’s tested Free HD mode required no account. Compare the mode you will actually use, not a general headline covering both free and paid features.
PicUnblur offers a small, inspectable classical repair with no model-weight download and a stated output cap. That can be a convenient first experiment for light softness. It does not offer a face-specific model, recovered document text, upscaling or video restoration. A tool with those modes should be tested on those separate tasks before you rely on its claims.
For a personal photo, choose the result that looks natural and useful to you. For product details, text, identity or evidence, a plausible reconstruction is not a substitute for the source. If a tool uploads the photo, review its retention and usage policy too. This comparison does not certify any third-party service’s privacy or commercial results.
Repeat a fair comparison on your photo
Keep the original, select one unblur mode in each tool, and record whether either silently resizes or enlarges the file. Export the results, display them at a matched scale, and inspect the part of the photo you care about. Check a smooth region as well as the edge that first catches your eye.
Do not feed one service’s output into the next and treat the chain as an independent comparison. It changes the starting point and can compound artifacts. Similarly, results from a light simulated blur cannot certify performance on long motion streaks. If you are unsure whether your picture is a useful candidate, start with one of the two guides below.
Sources and scope
Provider interfaces used: unblurimage.pro and unblur-image.io. Mode names, sign-in requirements and output sizes are from the actual runs on November 18–19, 2026, and may change. Input and reference are authored by PicUnblur; the published output images are the files generated from that input. No private user photo or third-party non-commercial research image was used.
We have not tested Picsart, Canva, other cloud models, portraits, motion blur or document recovery in this comparison. There are no affiliate links, sponsored rankings or invented customer reviews here. The narrow test is meant to help you make a better comparison, not promise that one method can rescue every photo.